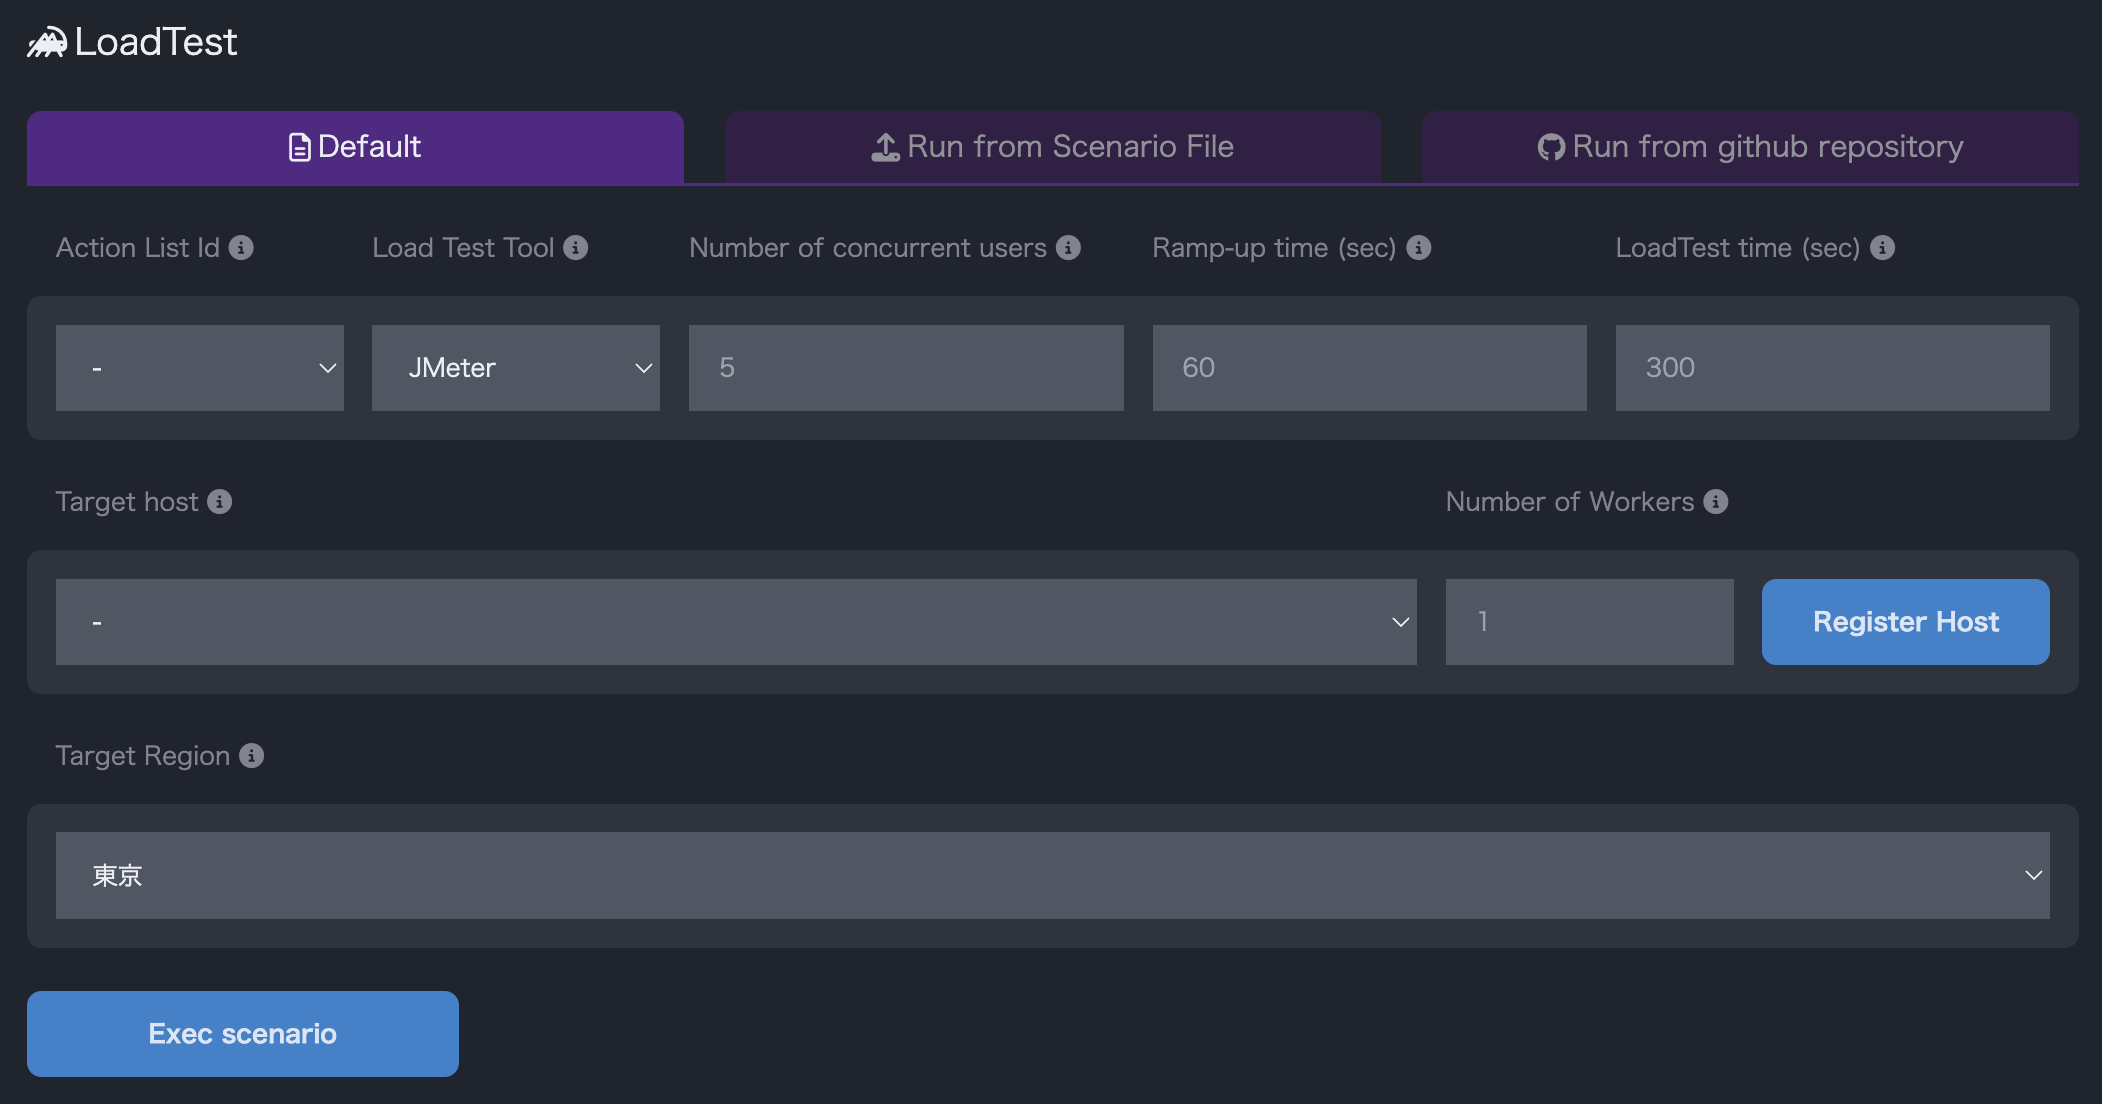
After creating a scenario, click the Select Scenario and Execute tab, enter the load test details, and press Execute Scenario to start the load test.
Configuration Category
Scenario/Action List ID: Specifies which scenario to execute
Load Test Tool: Specifies the tool to be used during the test
Concurrent Users: Specifies the number of users accessing concurrently
User Increase Time: Specifies the time until the number of concurrent users is reached (starts with 1 user)
Load Test Duration: Sets the duration of the load test
Target Host: Specifies the host on which the test will be conducted
Number of Workers: Sets the number of servers running the load test tool
Scenario Upload Format
In this format, you can upload JMeter or Locust scenario files to execute load tests.
You can reuse scenario files downloaded from Mx.Load or use files created elsewhere.
When you upload a scenario from the Upload Scenario File and Execute tab, the contents of the scenario file are displayed in the Scenario File Content section. Edit the content if necessary.
Then, click Execute Scenario to start the load test.
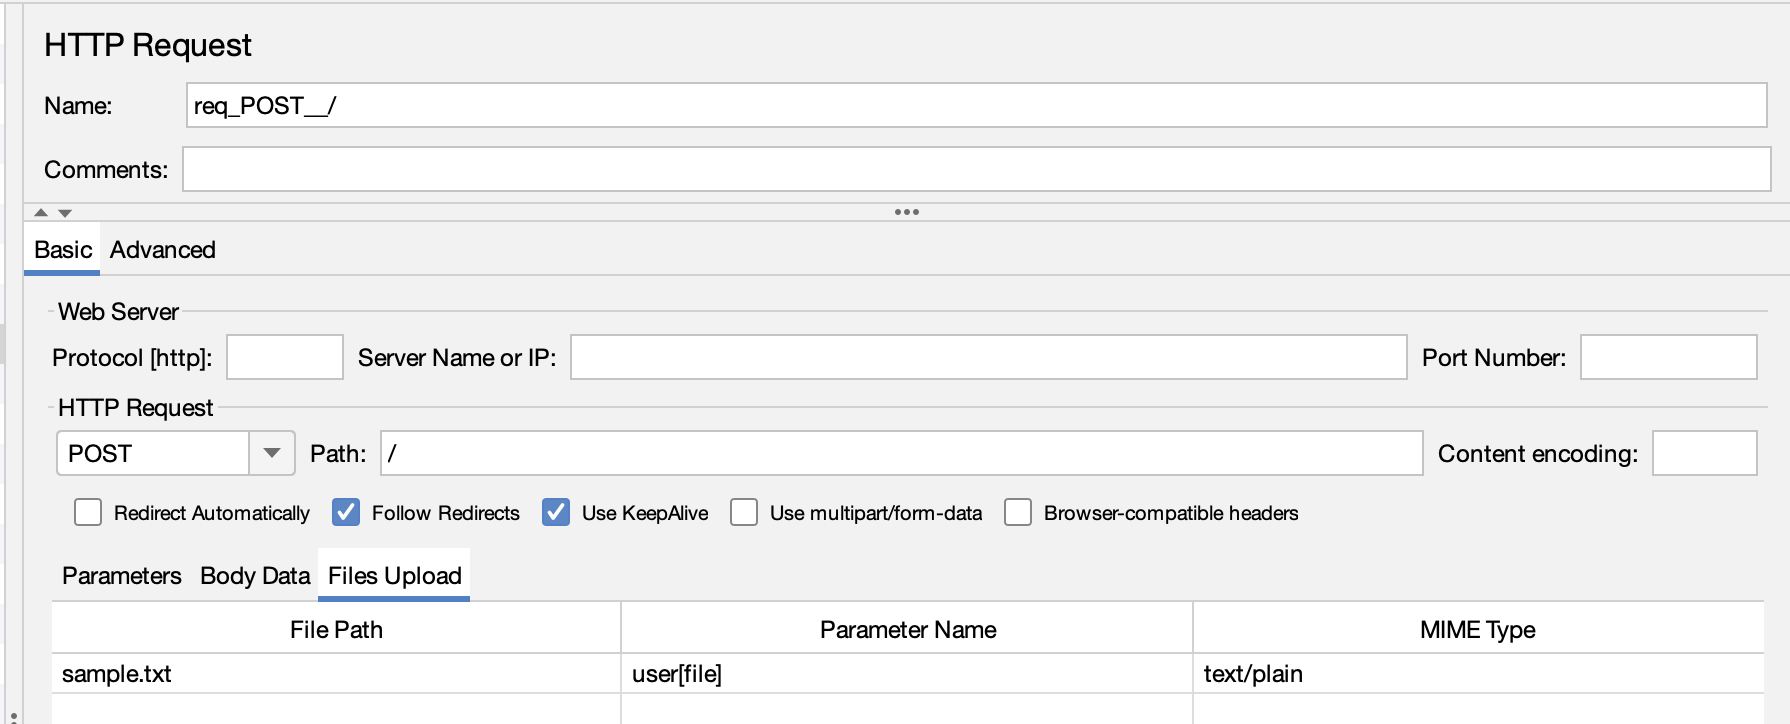
For tests involving file uploads, you will need external files for uploading.
To use external files, follow these steps:
Specify only the file name in the path in the scenario
Ensure only a single .jmx file is included in the zip to avoid issues.
Refer to the earlier section “Using External Files” for how to utilize each file. Access to each file is based on the relative path from the .jmx file.
For Locust
When running in Locust, you can execute load testing by creating a zip file containing multiple .py scenario files.
For example, you can include multiple .py files in a zip file.
Prepare a main execution .py file (e.g., main.py) that imports the other scenario files.
The following rules apply to determine the main execution file from the uploaded zip file:
If a .py file contains the notation "__main__", it is treated as the main execution file.
Ensure only one .py file contains "__main__" to avoid issues.
If no file contains "__main__", the system searches for a file that imports other files and treats it as the main execution file.
If none of the above conditions apply, a file named "main.py" is treated as the main execution file by default.
If a proper main execution file is not prepared, the load test will not run correctly.
Zip File Cautions and Error Examples
The following applies to both Locust and JMeter regarding zip files:
Only .zip format is supported.
Do not include irrelevant files in the zip.
When unzipping, the files must be extracted directly under the root directory. If the directory structure increases, it will be out of scope for operation.
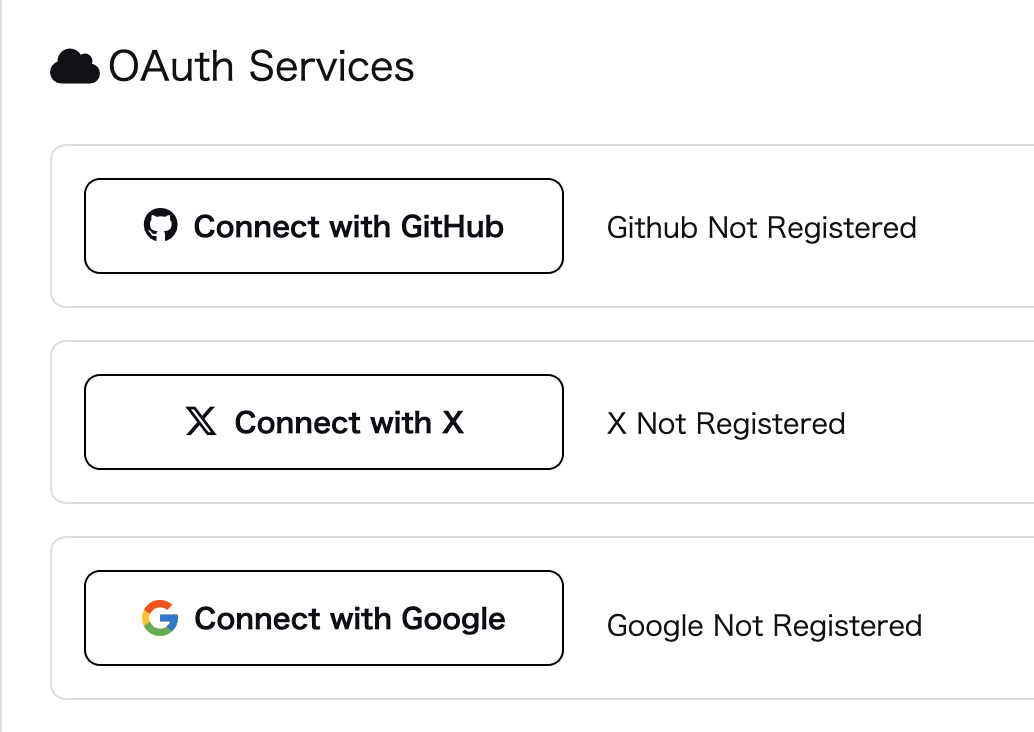
To run in the GitHub Repository Selection Format, you need to link your GitHub account.
Linking GitHub Account
Select Account from the side menu, and then press Set up GitHub under the External Services section to link your GitHub account.
In the redirected page, click Authorize buuurst-dev to link your account.
If the Mx.Load page shows SNS Account: Email address is not public after the redirection, go to your GitHub user page, click Edit profile, and make your email address public.
Create a repository and place the scenario file in the root directory of the repository. The file name can be anything.
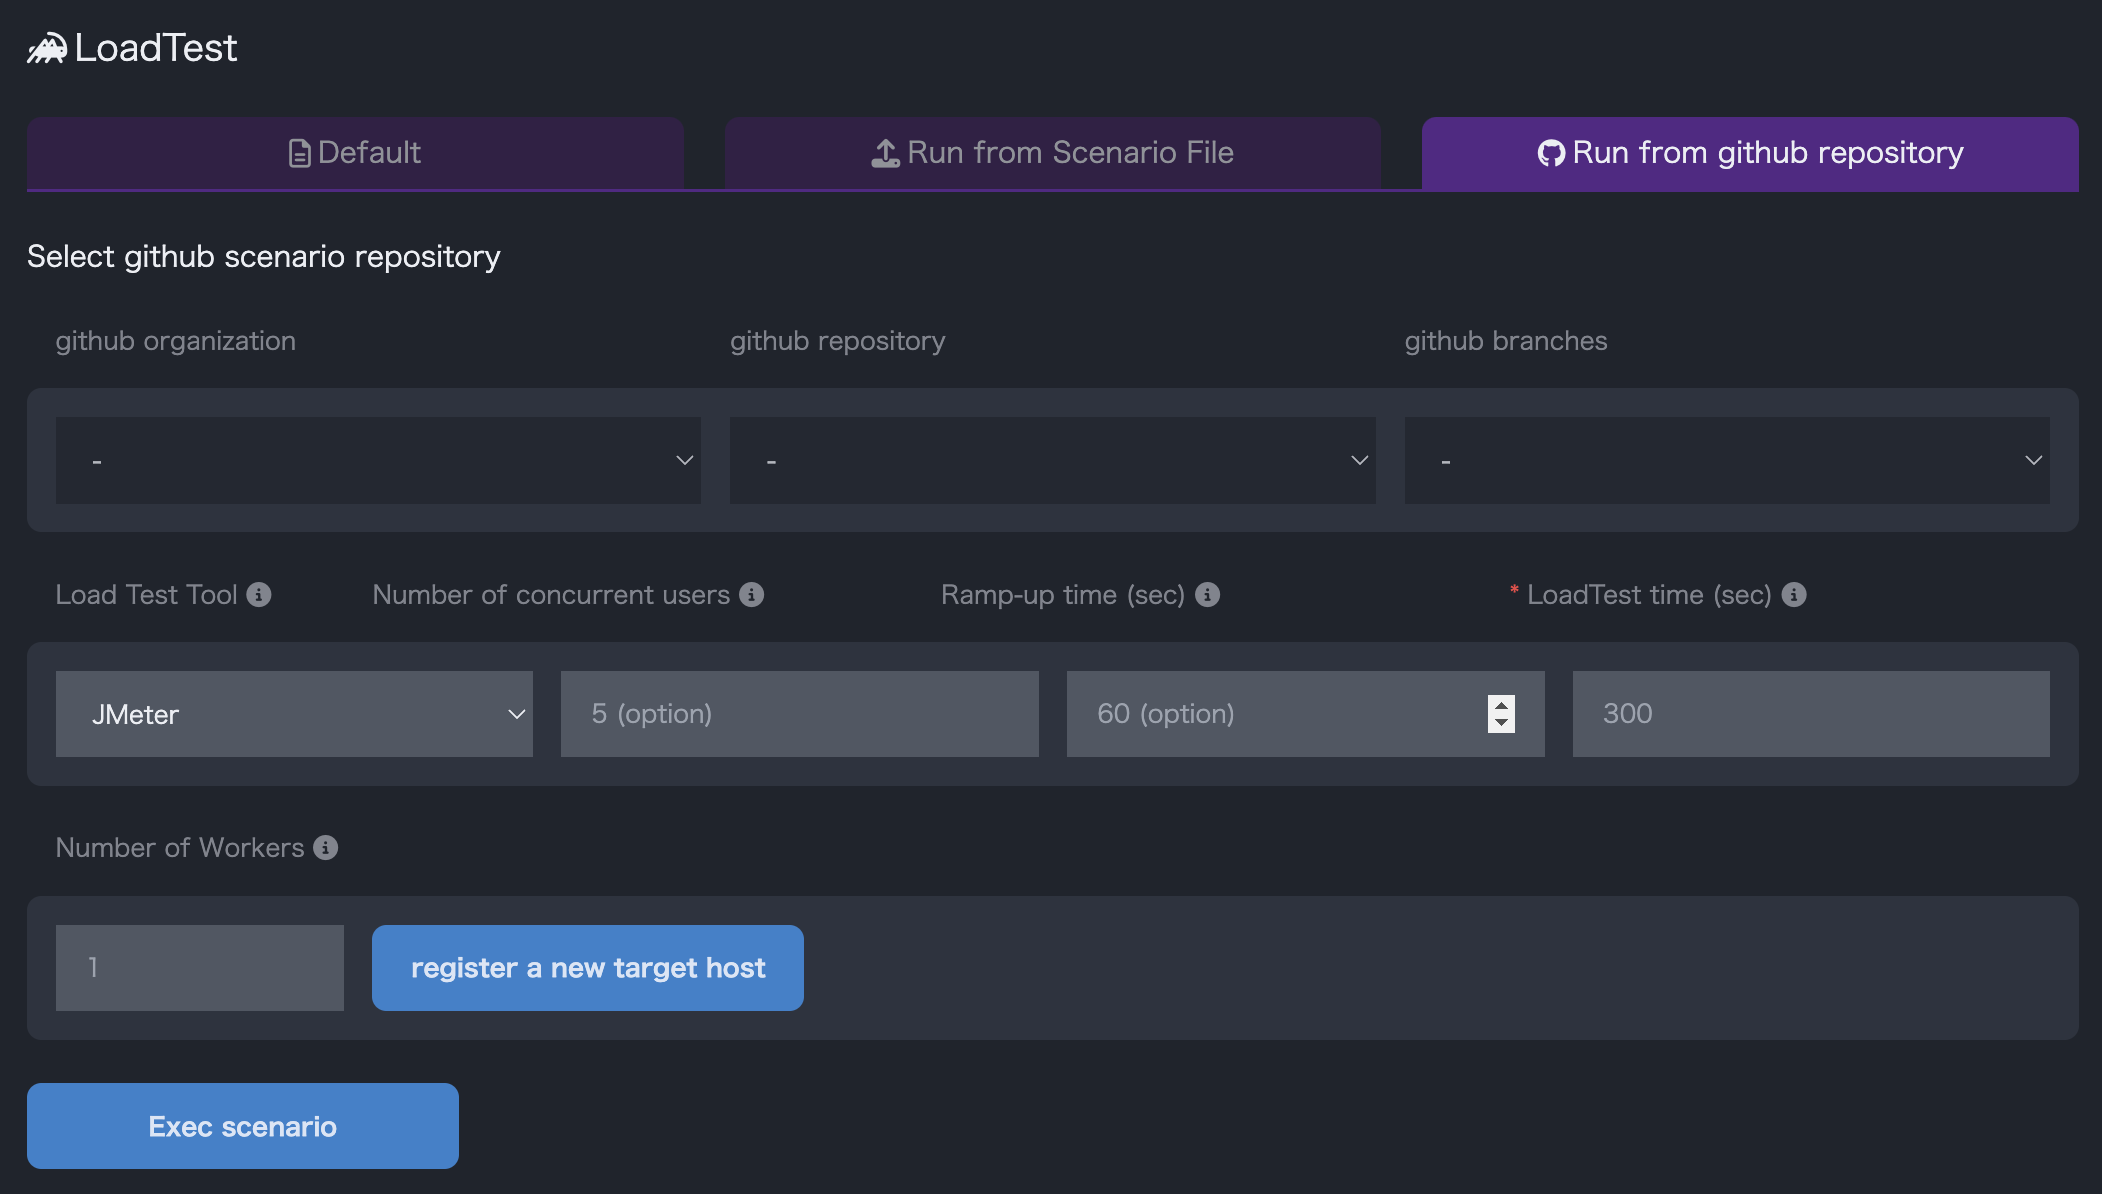
In the load test Execute Scenario with GitHub Repository Selection tab, select Organization, Repository, and Branch.
Set the parameters and click Execute Scenario to start the load test.
IP Address for Access during Load Testing
During load testing, access is made to the target host from the IP address 35.79.136.243.